
Diaphragm Wall
Deep Excavation & Retaining Wall Specialists
Jalmala Boring Works specializes in Diaphragm Wall Construction for deep excavations, basements, metro projects, commercial developments, and industrial infrastructure. We execute complete diaphragm wall work from 400 mm to 1200 mm thickness and depths of up to 40 metres, delivering watertight, high-strength retaining walls with minimal ground movement. Our end-to-end solution includes guide wall construction, slurry-supported panel excavation, reinforcement cage installation, tremie concreting, water-stop systems, and quality-controlled execution.
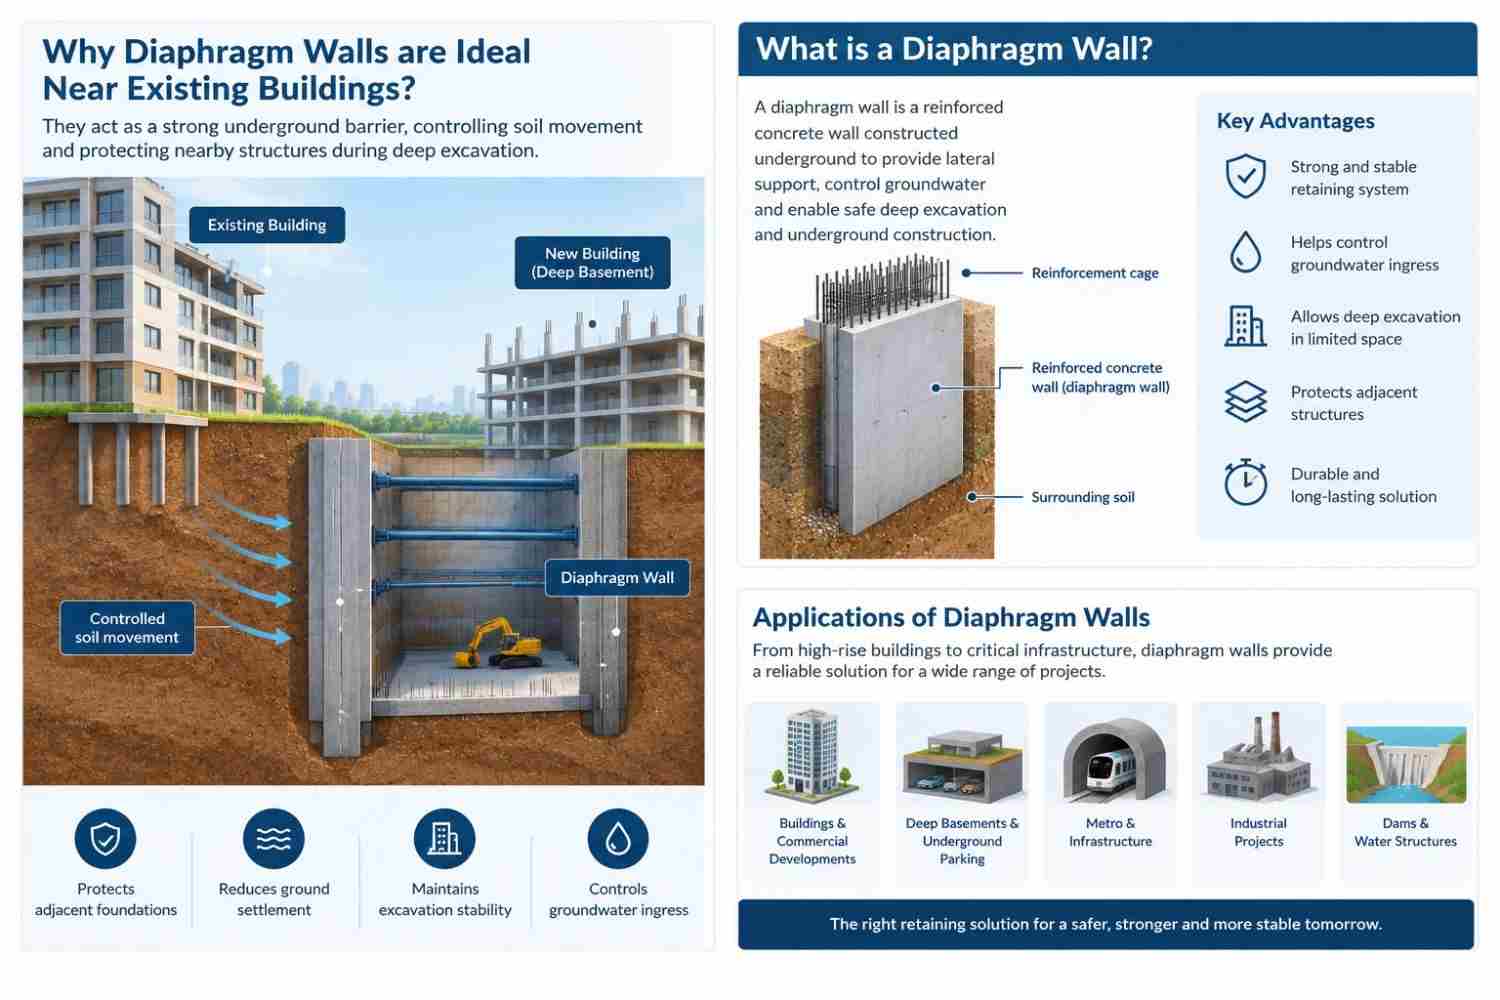
Diaphragm WallConstruction Process
A step-by-step overview of how Jalmala Boring Works constructs high-quality Diaphragm Walls — from guide wall installation to final panel completion — with precision, safety, and six decades of expertise.
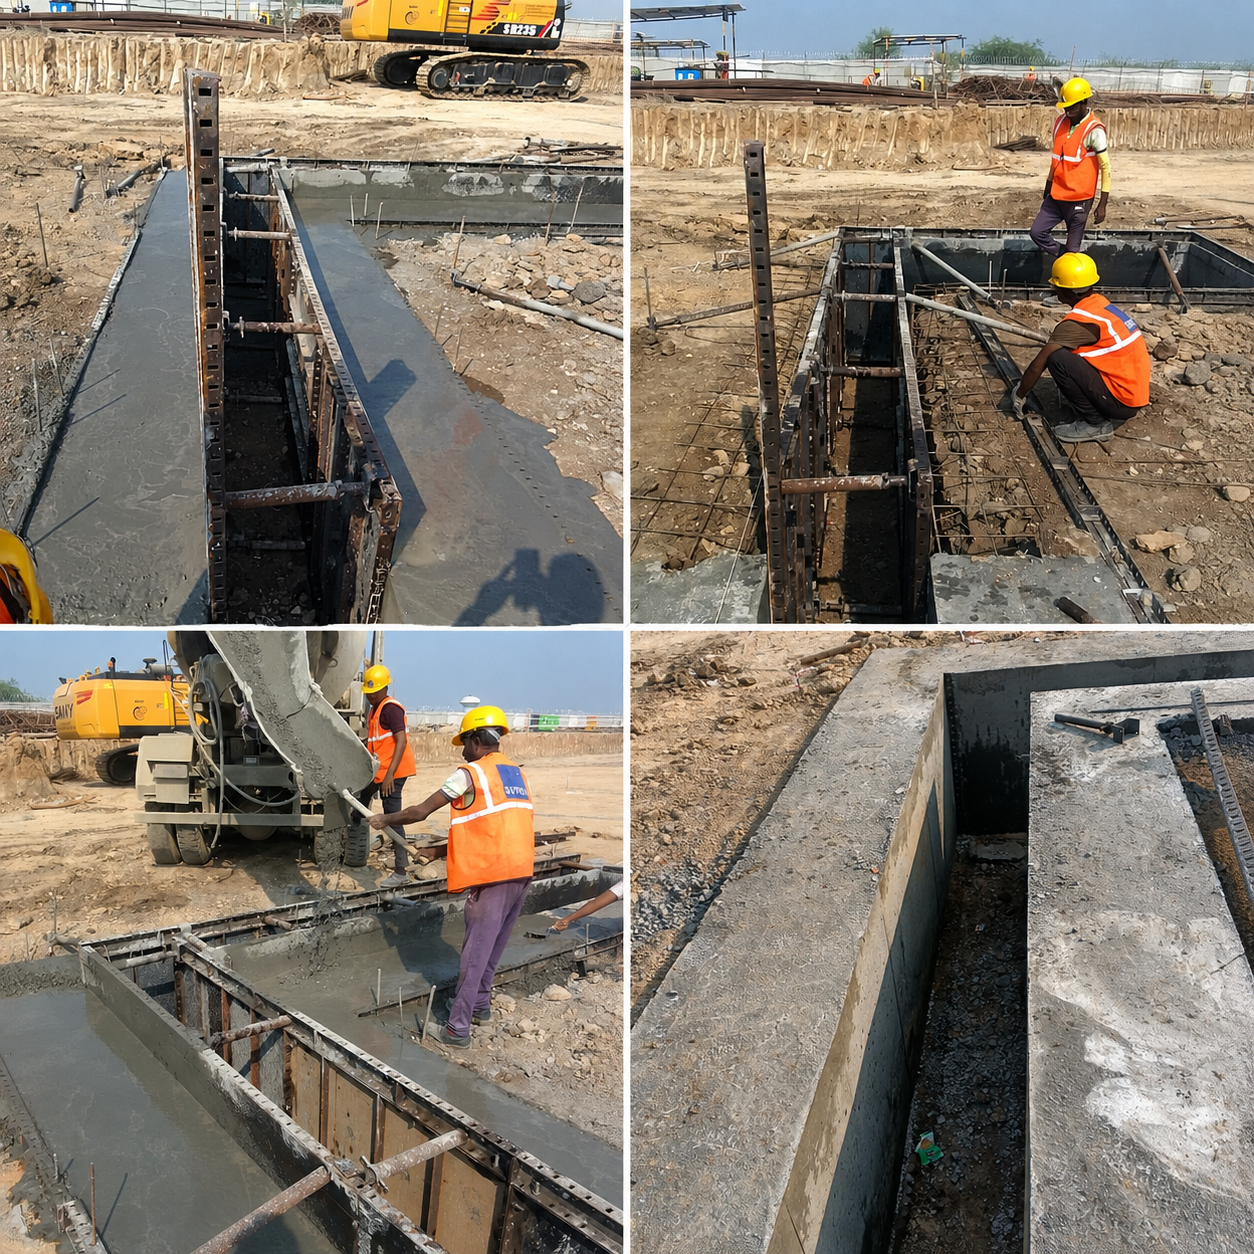
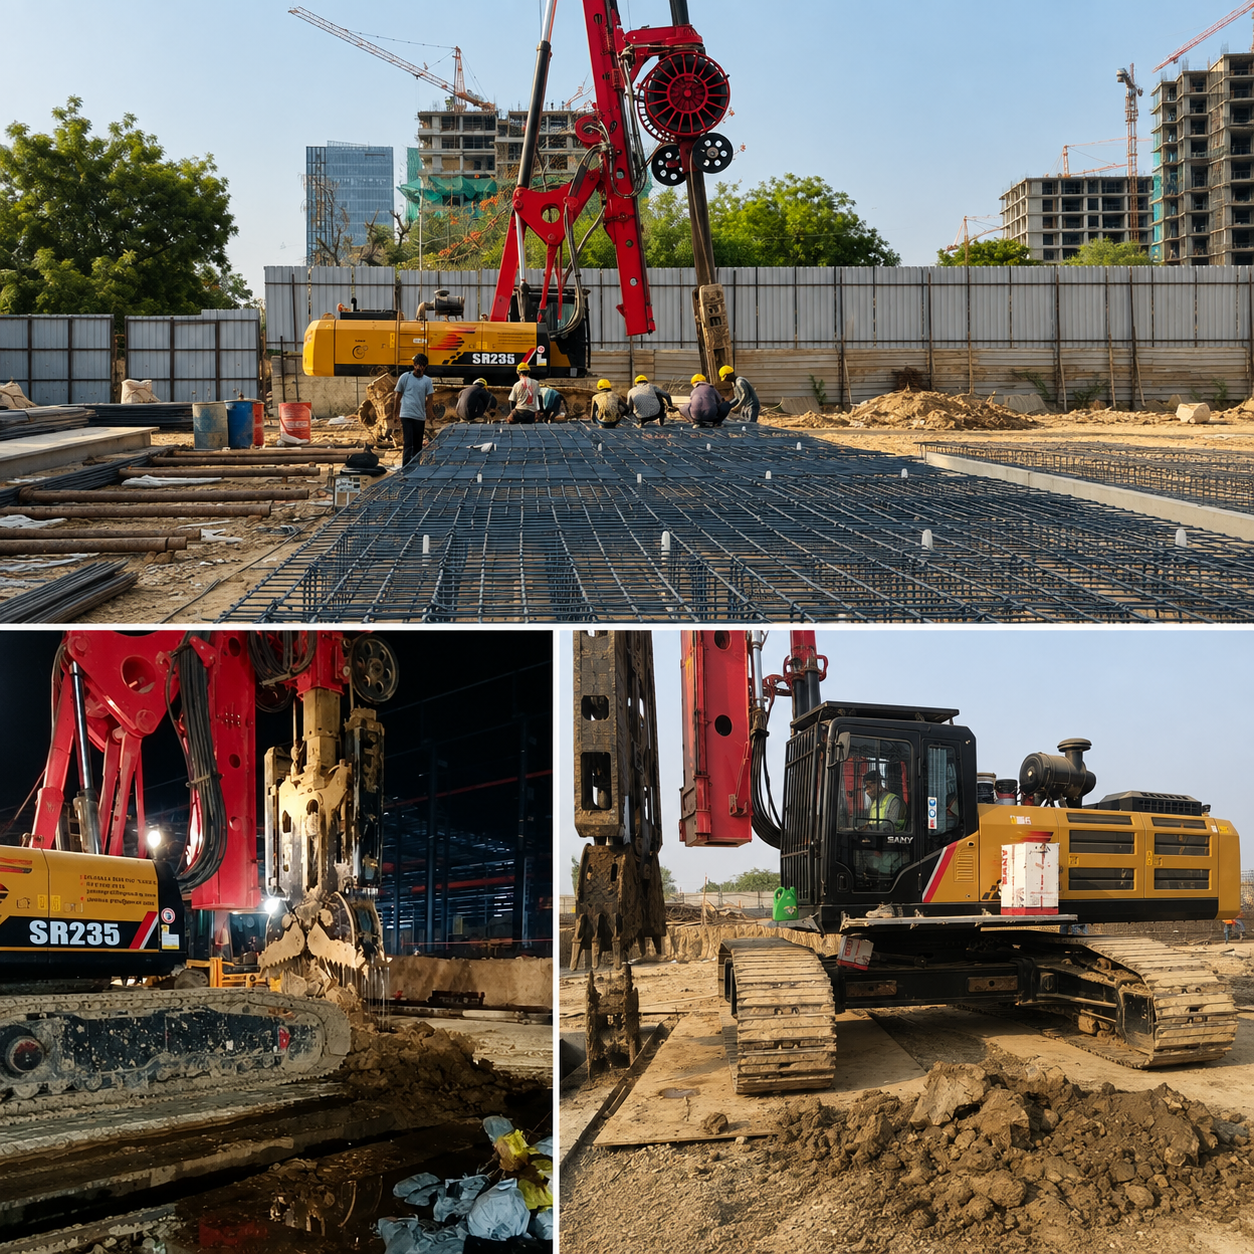
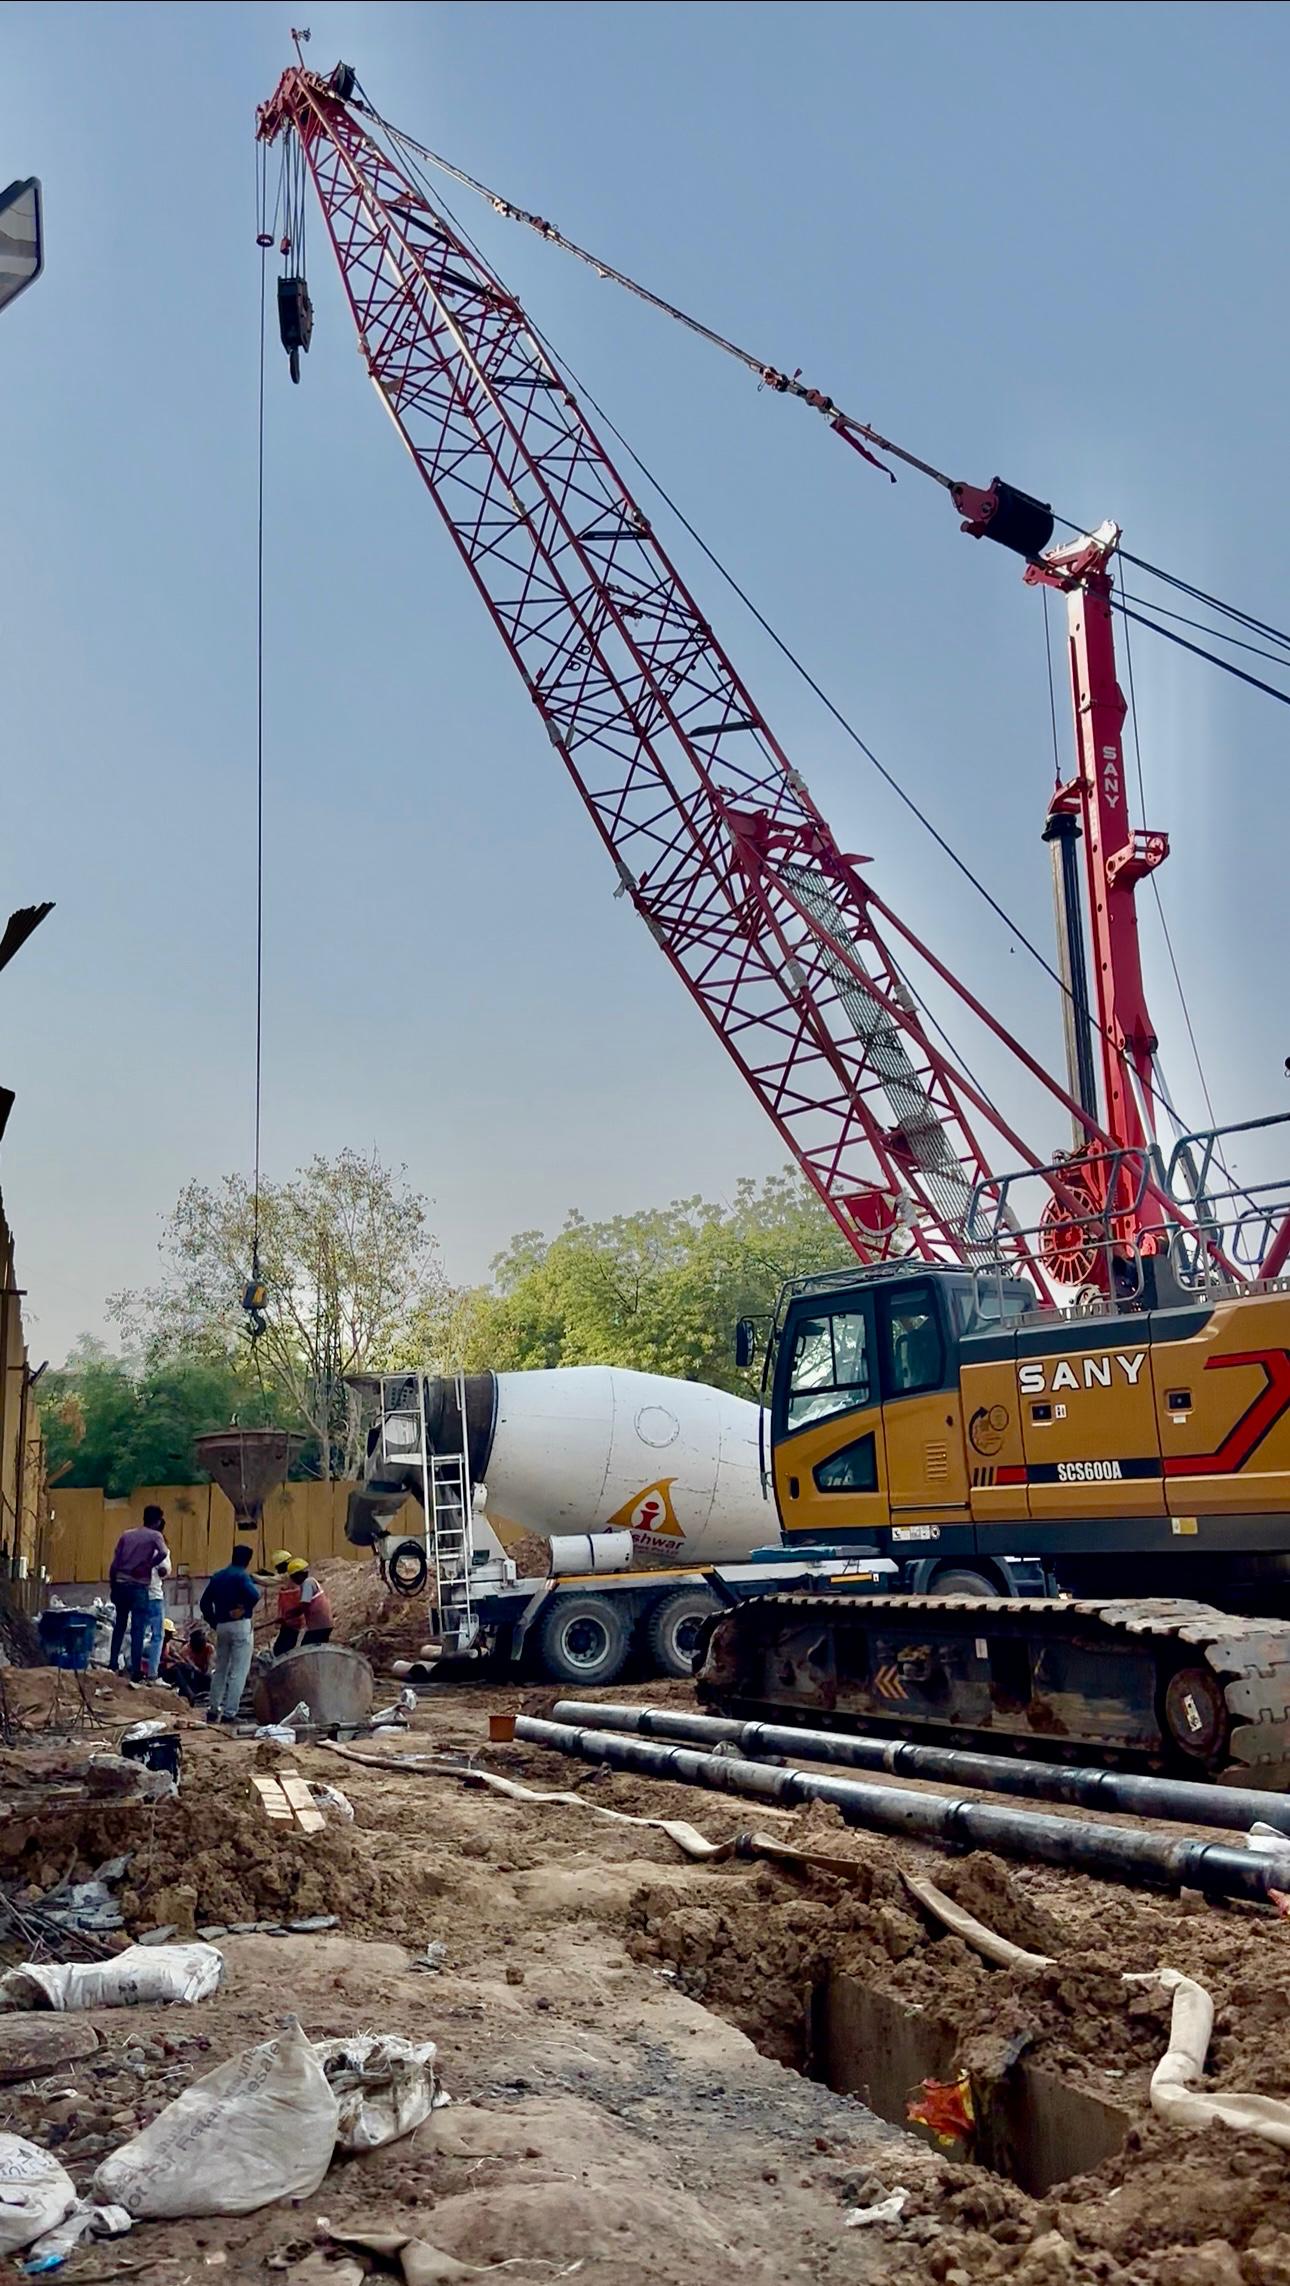
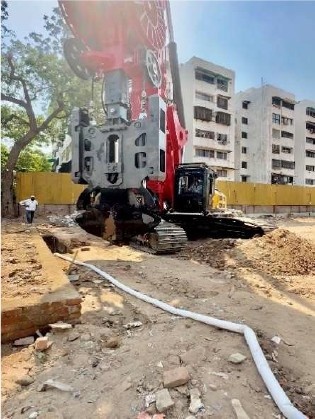
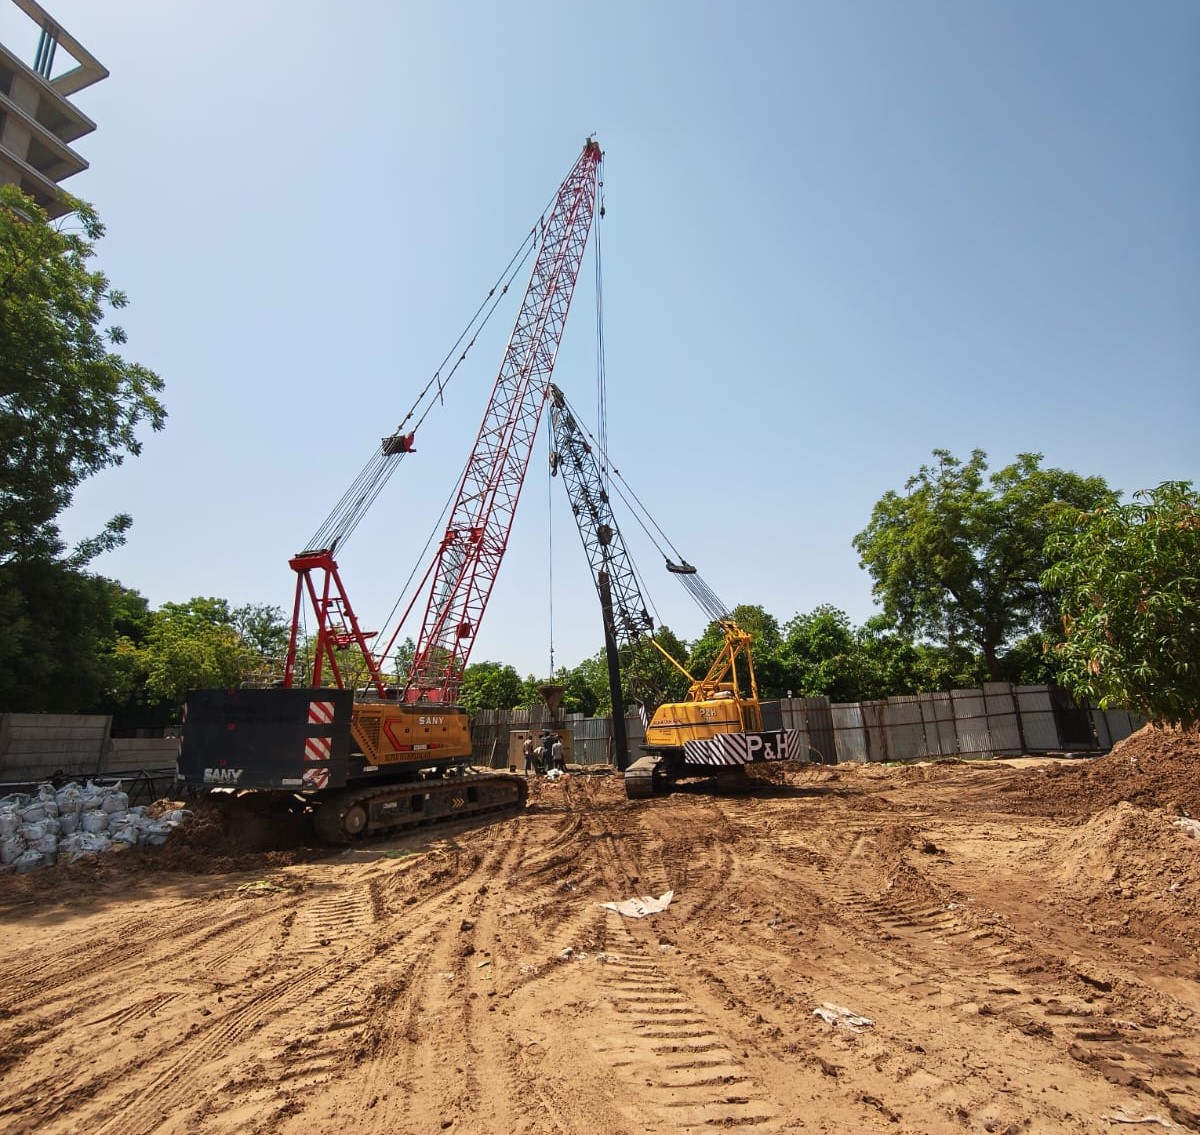
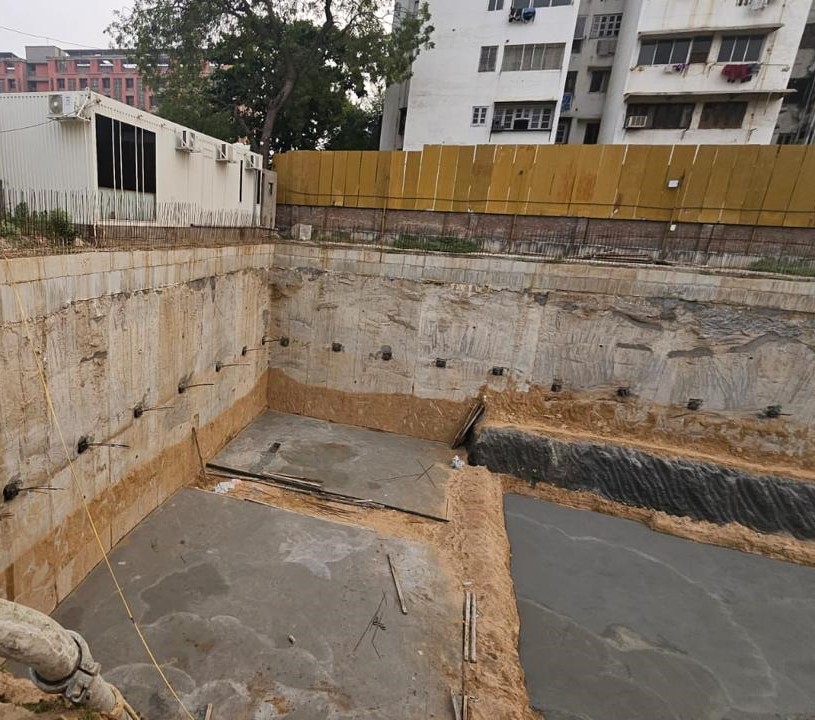
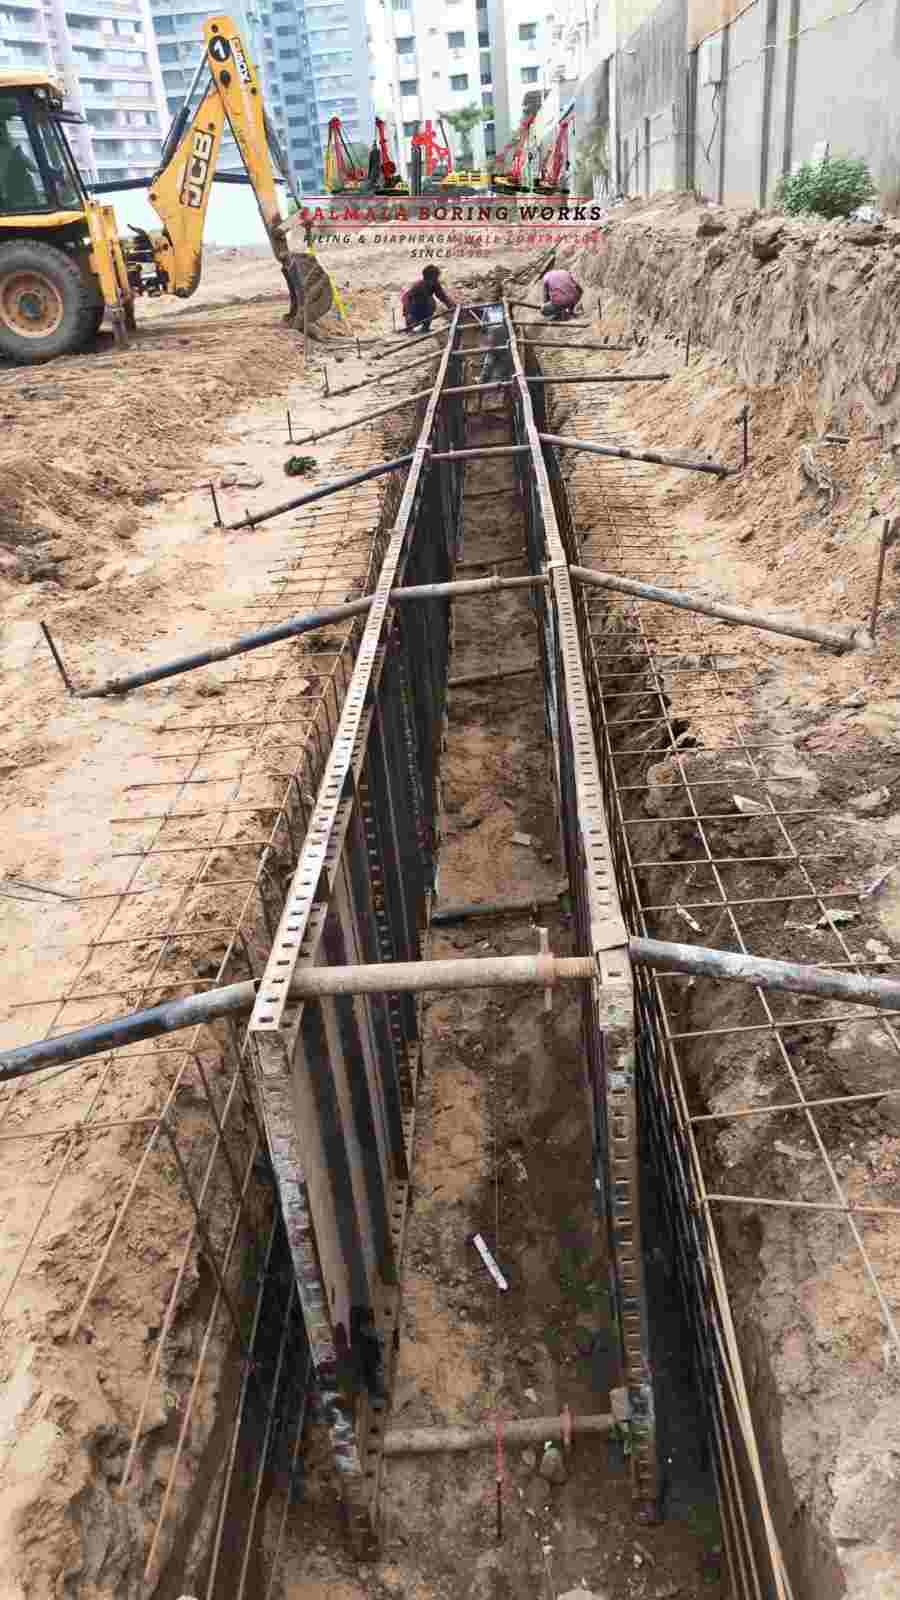
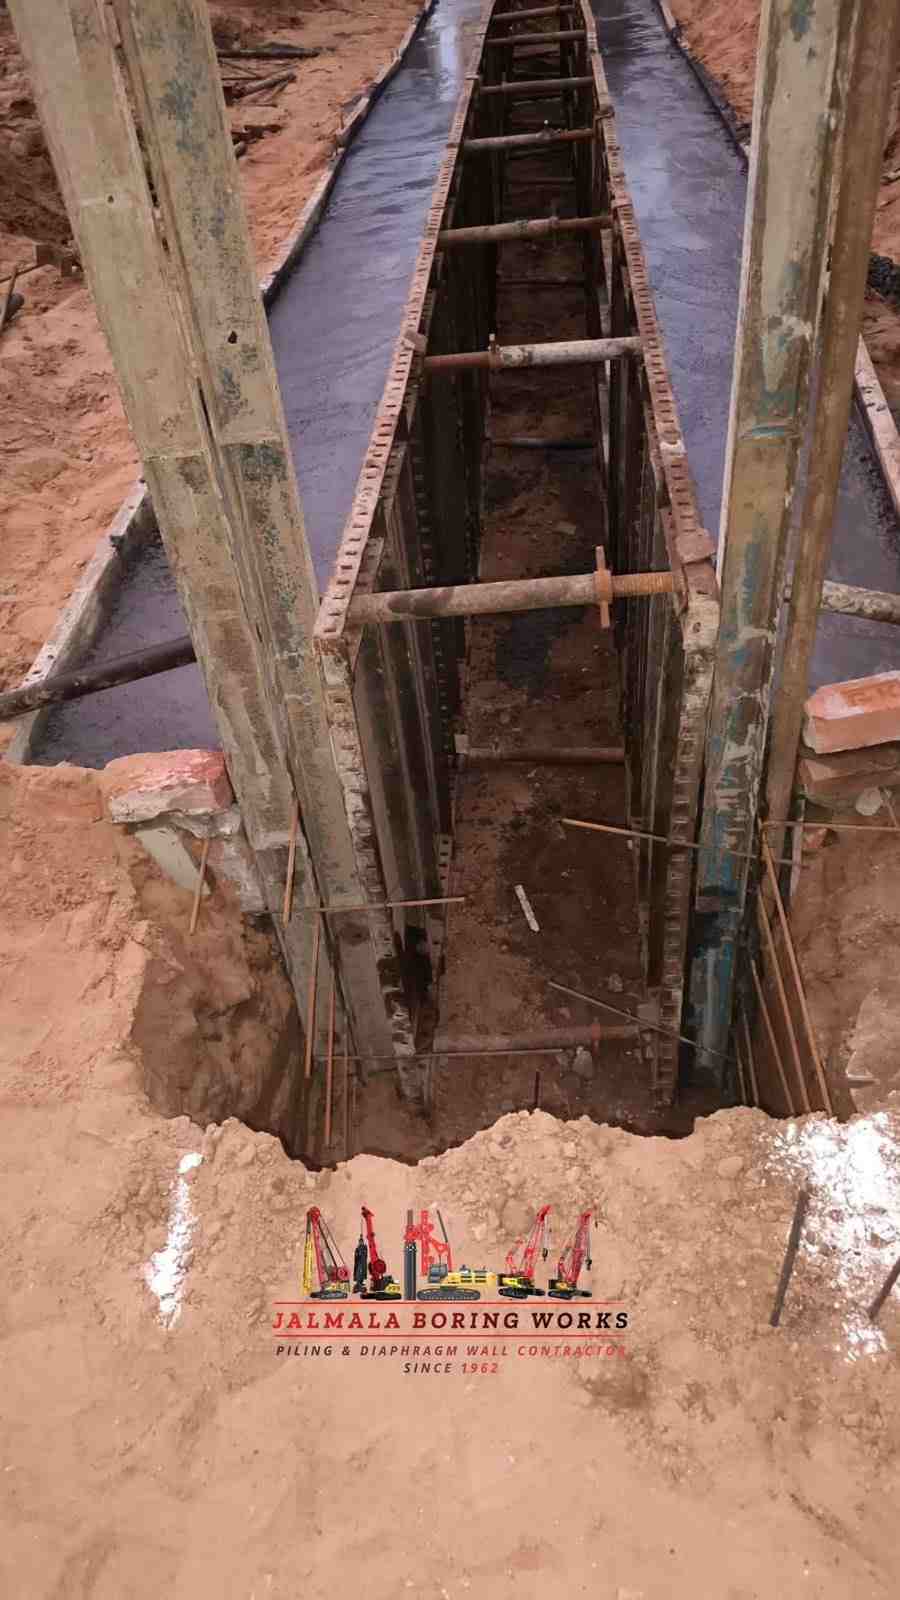
Survey, Setting Out & Guide Wall Construction
Detailed survey, panel marking, and guide wall construction for accurate alignment.
- Detailed survey and panel layout marking
- Construction of reinforced concrete guide walls
- Establishes accurate wall alignment
- Supports excavation equipment
- Prevents top soil collapse during excavation
Slurry Preparation & Panel Excavation
Preparation of slurry and excavation of diaphragm wall panels.
- Preparation of bentonite/polymer slurry
- Excavation using Hydraulic Grab or Hydromill
- Continuous slurry circulation for stability
- Excavation to required depth and founding strata
- Regular monitoring of depth and verticality
Joint Formation & Trench Cleaning
Formation of watertight joints and cleaning of excavated trench.
- Installation of Stop-End Pipes
- PVC Water Stopper installation
- Formation of watertight panel joints
- Desanding and slurry cleaning
- Removal of sediment from trench bottom
- Final trench inspection
Reinforcement Cage Installation
Fabrication and placement of reinforcement cage into trench.
- Fabrication as per approved drawings
- Installation of spacers and couplers
- Lowering cage into slurry-filled trench
- Maintains required concrete cover
- Pre-concreting quality inspection
Tremie Concreting
Continuous concrete placement using tremie pipes.
- Installation of tremie pipes
- Concrete poured from bottom to top
- Displacement and recovery of slurry
- Single uninterrupted concreting operation
- Formation of reinforced concrete wall panels
Panel Completion, Quality Control & Wall Formation
Final wall formation, testing, and quality assurance activities.
- Removal of stop-end elements
- Construction of secondary panels
- Formation of continuous watertight wall
- Verification of alignment and thickness
- Concrete quality testing and records
- Wall head trimming for capping beam
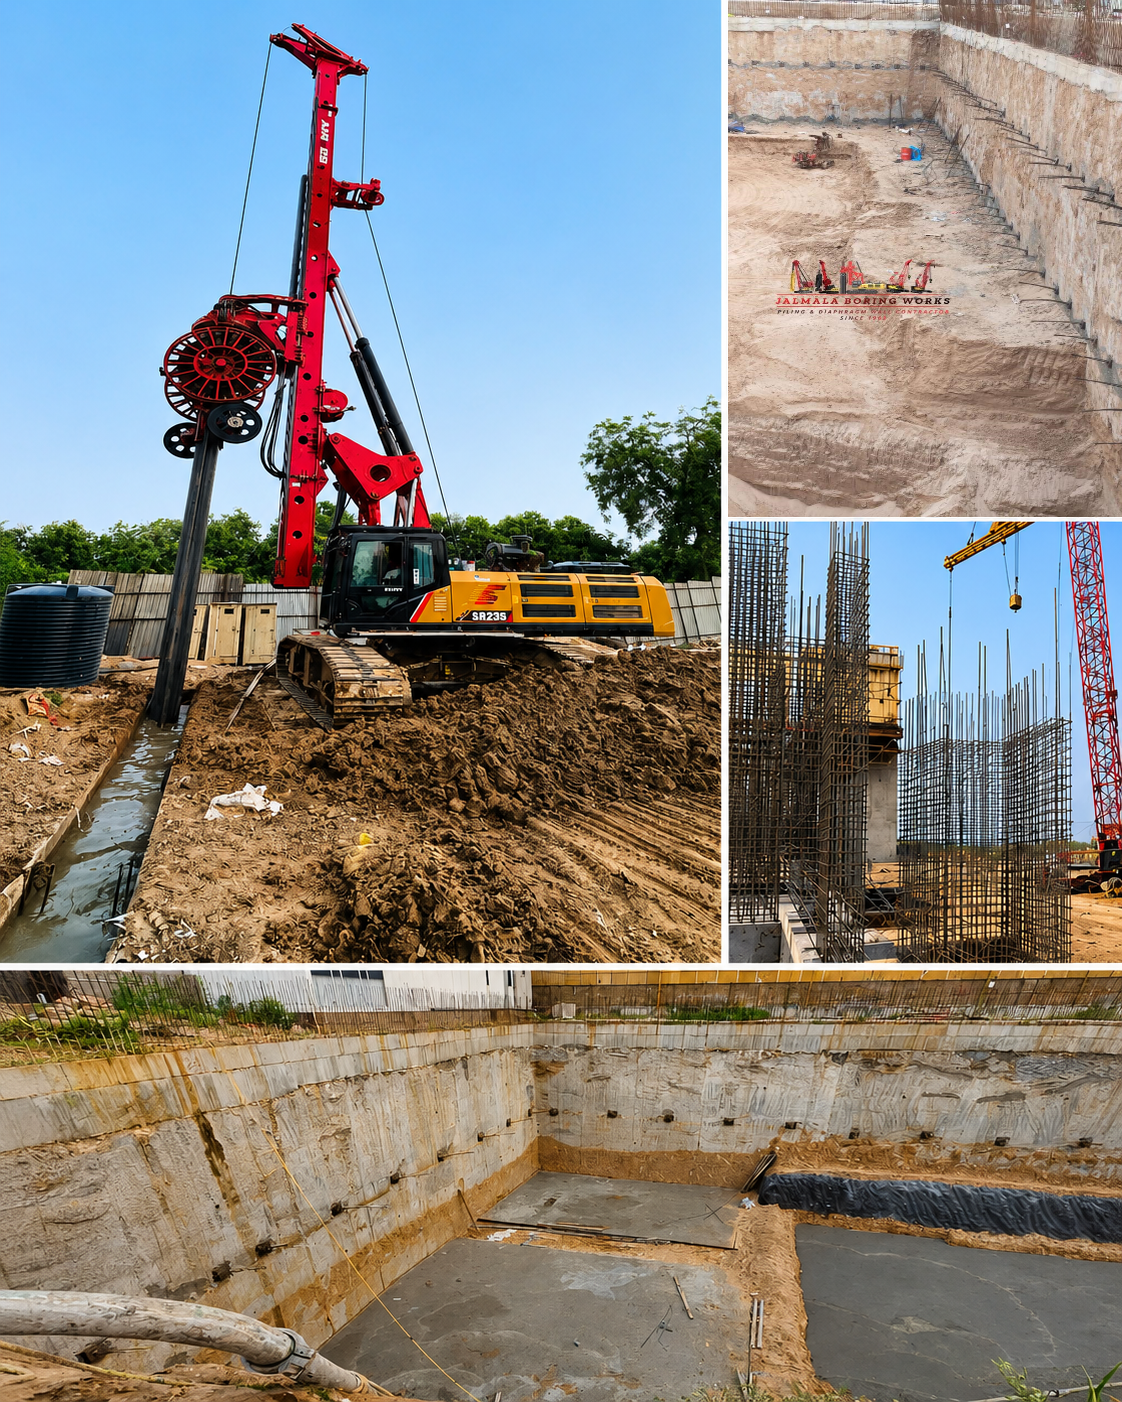
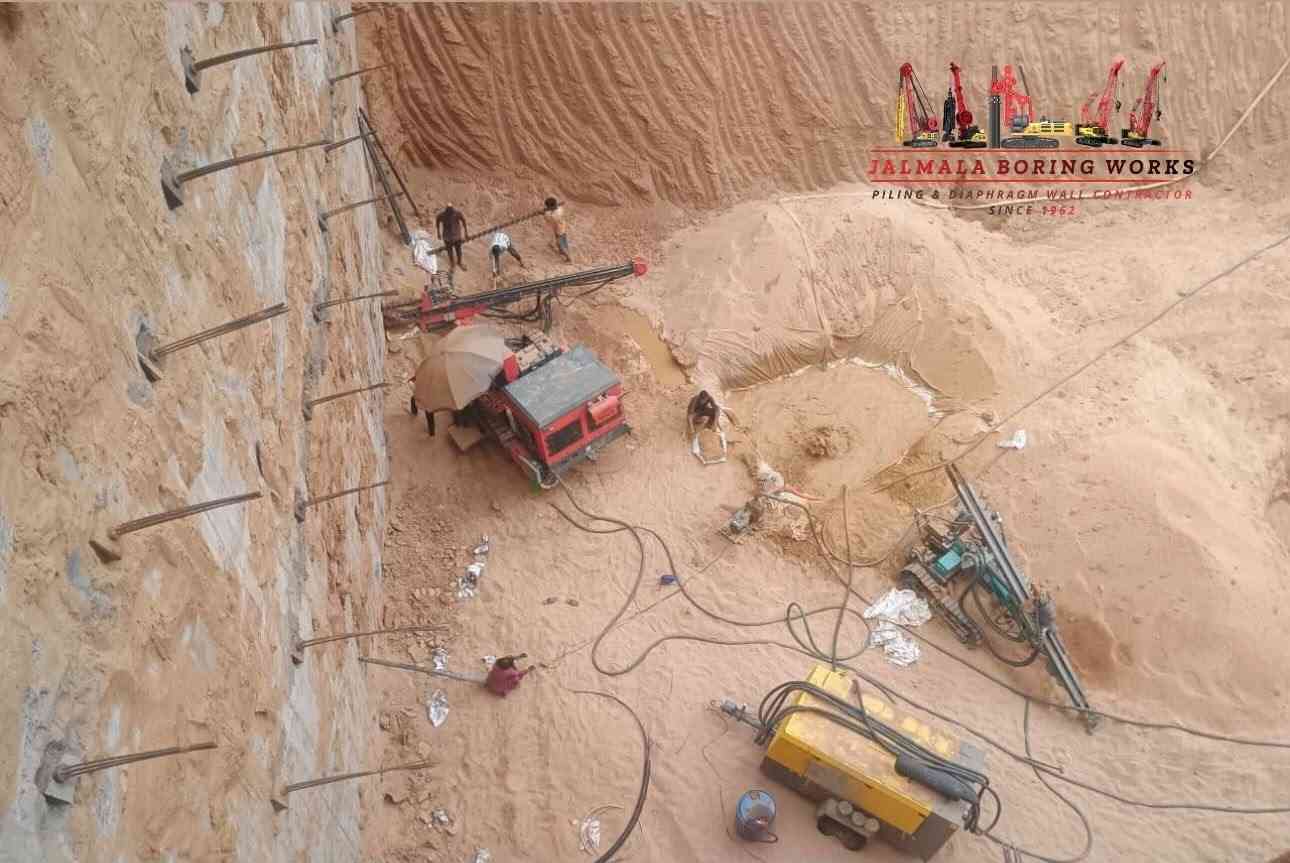
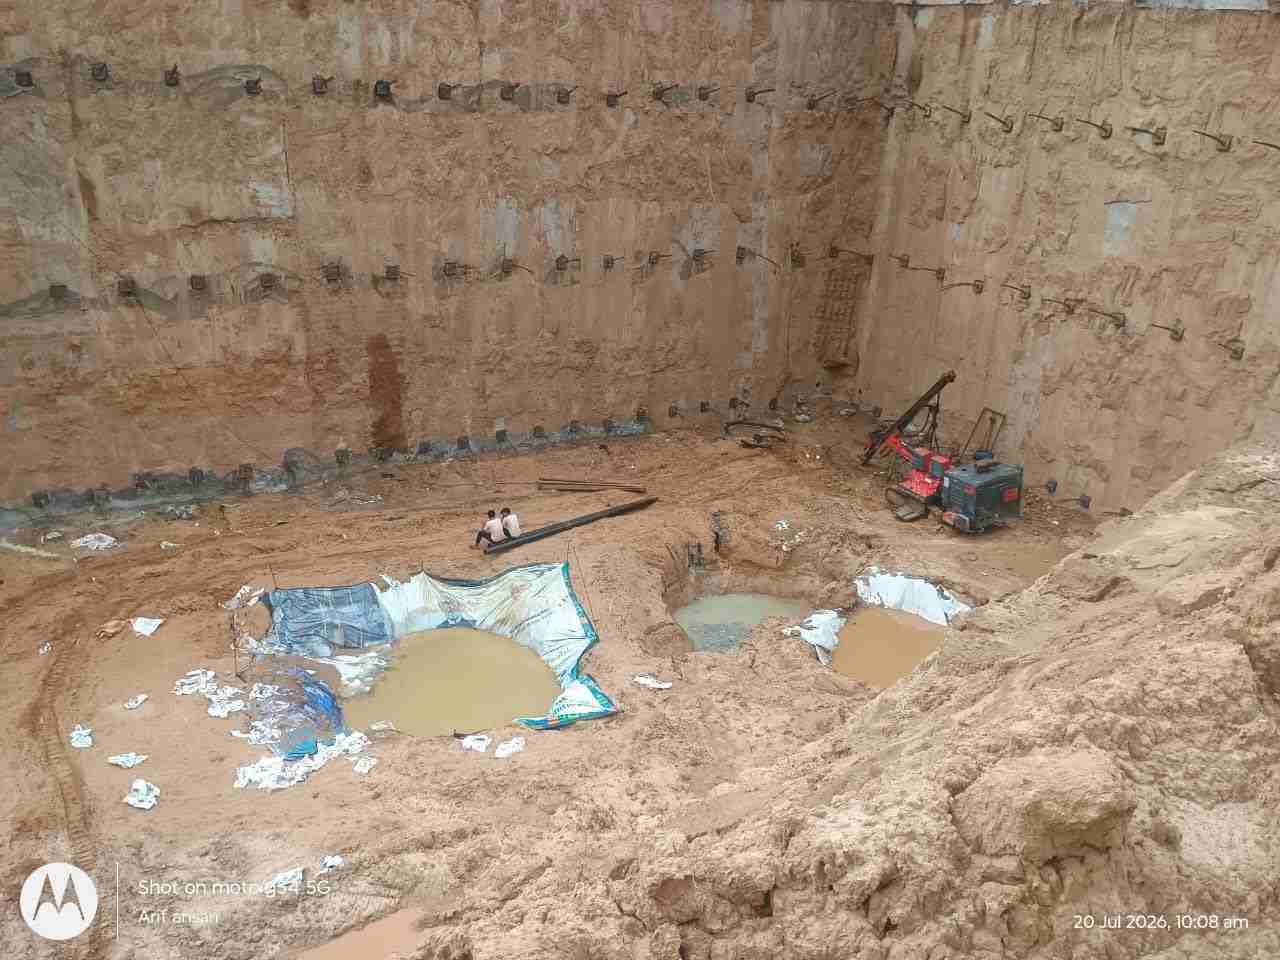
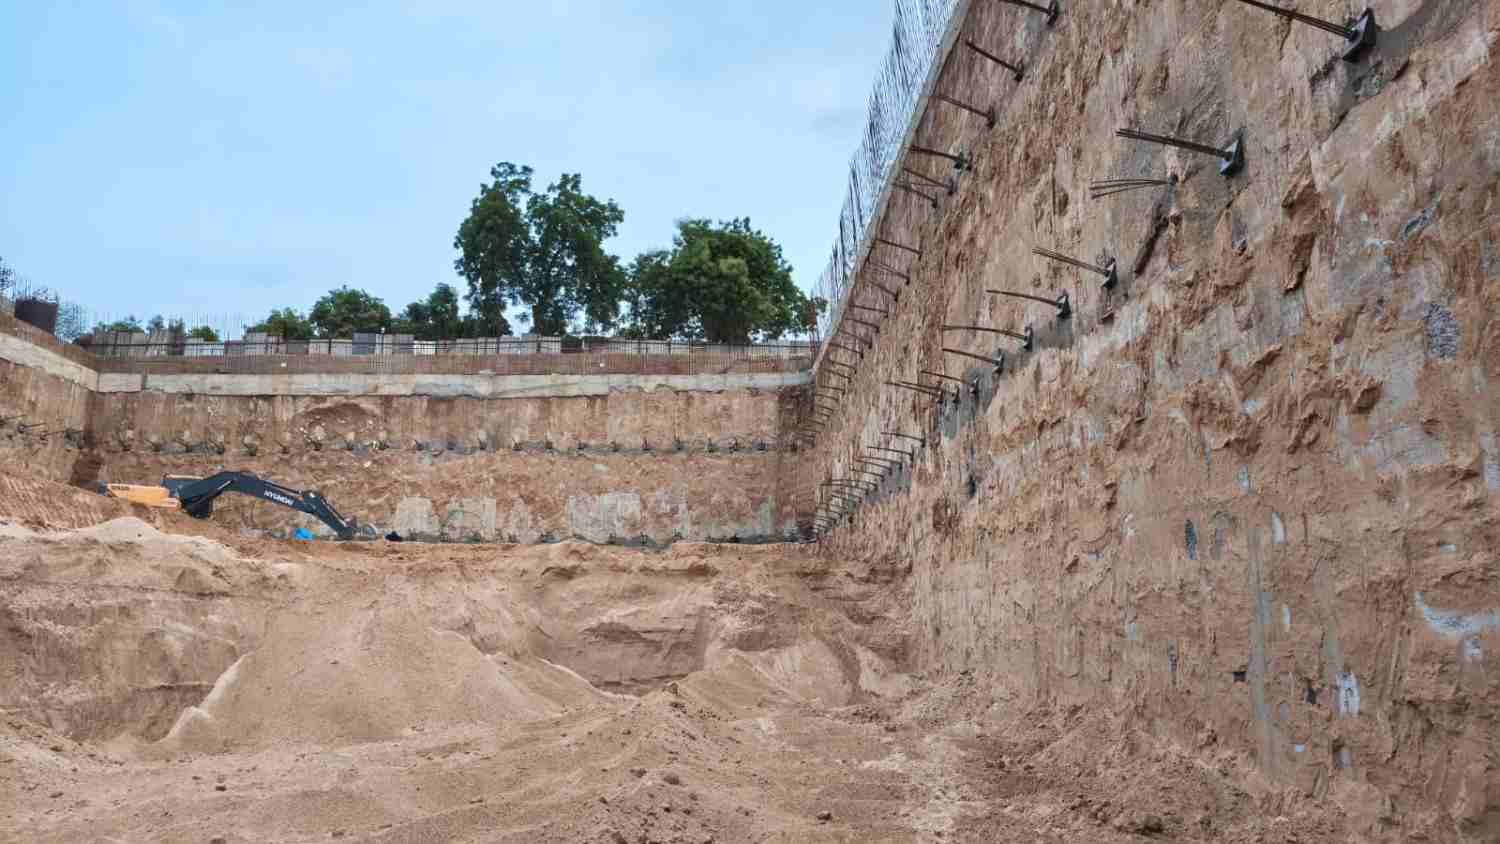
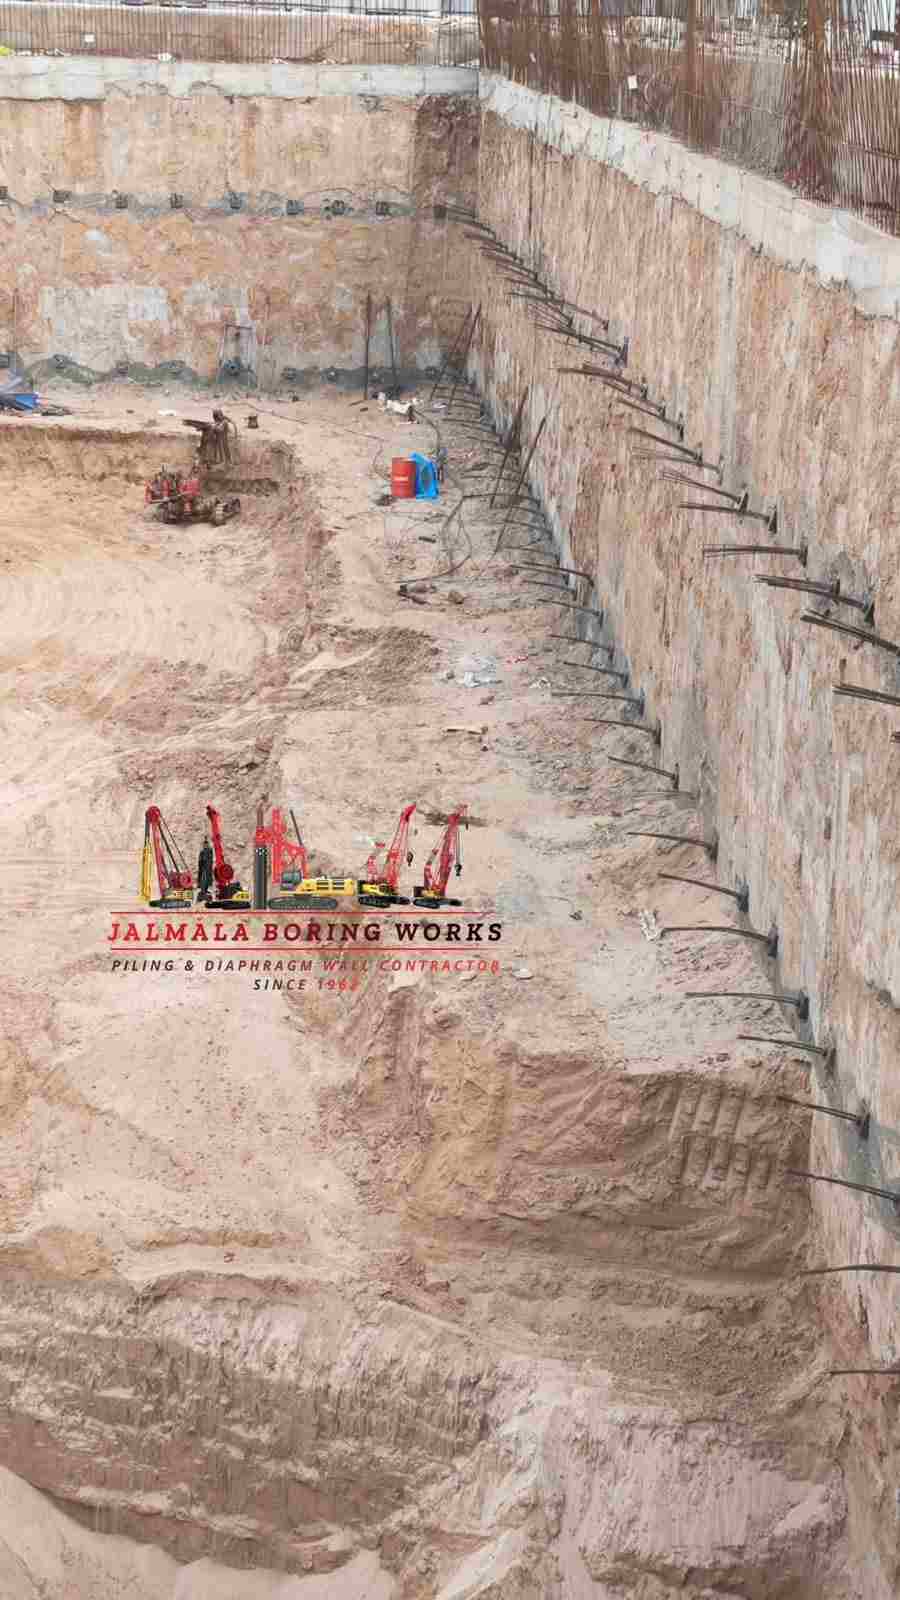
Execution Gallery
Recent Projects
Diaphragm Wall Drilling Method – Grab, Hydrofraise, Trench Cutter & Rotary Techniques
The drilling method used to excavate a diaphragm wall panel is the single biggest determinant of project speed, cost, and safety. Choose the wrong method and you will burn through days trying to chisel through rock that a hydrofraise could have cut in hours. Choose the right method and panels are excavated, reinforced, and concreted on schedule with reliable trench stability. This guide explains the four main diaphragm wall drilling methods used in India — their equipment, their soil/rock range, and how to select the right one for a specific project.
1. Mechanical Grab Excavation
A mechanical grab is a clamshell bucket suspended from a crane cable. It is raised and dropped into the trench, where the bucket's weight drives the jaws into the soil, and the closing action bites off a chunk that is then lifted to the surface for disposal. Mechanical grabs are the oldest diaphragm wall excavation method still in widespread use — simple, robust, and well-suited to shallow soft-soil walls (up to 15–20 meters) in alluvial or laterite conditions. They are economical but slow in harder soils and completely impractical in rock. Mechanical grabs are still used in India for smaller basement diaphragm walls where depth is limited and the soil profile is benign.
2. Hydraulic Grab Excavation
A hydraulic grab is a modern upgrade of the mechanical grab — instead of cable operation, the jaws are driven by hydraulic cylinders controlled by the rig operator. This gives the operator far more control over bite force, bucket orientation, and panel alignment. Hydraulic grabs are the most common diaphragm wall excavation method in Indian metro and basement projects for soil and weathered rock up to about 30 meters depth. They can also be fitted with chiselling attachments for small rock obstructions or boulders. For Bangalore's laterite-over-granite profile or Delhi's alluvial deposits, hydraulic grab with chiselling is often the practical default.
3. Hydrofraise Excavation
A hydrofraise (also called a reverse circulation trench cutter) is the most advanced diaphragm wall excavation method. It uses two counter-rotating cutting drums fitted with tungsten carbide teeth, lowered into the trench under bentonite slurry. The drums grind through hard rock while the slurry is continuously pumped down to the cutter and returned to the surface carrying cuttings. Hydrofraise is used for hard rock and deep walls (30–60+ meters) where grab excavation would be too slow. Mumbai metro station boxes, deep BKC basements, and Bangalore tech park diaphragm walls penetrating granite all rely on hydrofraise. It is the most expensive equipment to mobilize but also the fastest method in hard rock conditions.
4. Trench Cutter Excavation
A trench cutter is a cutter with a continuous cutting chain or belt system, similar to a chainsaw for the ground. The chain carries cutting teeth that excavate soil and rock as the cutter moves along the panel. Trench cutters are used for continuous wall construction where panel joints are minimized and a highly water-tight wall is required — such as metro station boxes and pump-house diaphragm walls. The method is less common in India than grab or hydrofraise because it requires specialized equipment, but it is the best choice for high water-tightness applications.
5. Rotary Drilling Method
Rotary drilling uses a rotating auger or bucket drill to excavate the panel. It is less common for diaphragm walls in India because it requires close-spaced circular holes rather than a true continuous rectangular panel, which weakens the wall's water-tightness and lateral stiffness. However, rotary drilling is occasionally used where site access for a grab or hydrofraise is impossible — for example, in extremely tight urban sites where the larger equipment cannot be mobilized.
Bentonite Slurry – The Enabler of Every Method
Every diaphragm wall drilling method depends on bentonite slurry for trench stability. As the excavation proceeds, the slurry exerts hydrostatic pressure against the trench walls, forming a filter cake on the soil surface that further stabilizes the trench. Without adequate slurry management, even the best drilling equipment will fail — trench collapse is the single greatest risk in diaphragm wall work. Slurry density, viscosity, sand content, and pH must be tested at every shift, with adjustments made as the drilling transitions from soil to weathered rock to hard rock. Our zero trench collapse record is a direct result of disciplined slurry management at every panel.
Selecting the Right Method for Your Project
The right drilling method depends on four factors: soil and rock profile, wall depth, panel length, and site access. For a shallow soft-soil basement wall, mechanical or hydraulic grab is sufficient. For deeper soil and weathered rock up to 30 meters, hydraulic grab with chiselling works well. For hard rock or depths beyond 30 meters, hydrofraise or trench cutter is required. In Bangalore and Hyderabad, walls often transition from laterite (soft) to weathered granite (hard) within the same panel — these projects require combined methods, typically hydraulic grab for the soil zone and hydrofraise or chiselling for the rock zone. Jalmala Boring Works maintains a fleet of grab, hydrofraise, and rotary rigs and selects the method per project based on the geotechnical report and site-specific constraints. For detailed project pricing, see our diaphragm wall price per meter guide. For overall construction process, see our diaphragm wall contractor page.
Panel Excavation Sequence – How Drilling Fits Into the Wall
Regardless of the method chosen, diaphragm walls are excavated in alternate panels. Primary panels are excavated first (skipping one panel between them), reinforced, and concreted. Once they have cured, secondary panels are excavated between the primary panels, using the cured primary panel ends as joint faces. This sequence ensures continuous water-tight joints and maintains trench stability. In Bangalore and Chennai, where some panels pass through rock and others through soil, the sequence must also account for drilling method changeovers — which add complexity to scheduling and equipment logistics.
Contact Our Diaphragm Wall Drilling Team Today
Ready to discuss your diaphragm wall drilling method for an upcoming project? Call our team at +91 93745 45415 or email jalmala.pile@gmail.com. Our main office is at Dholka Road, near Nariampura Village, Narimanpura, Sarkhej, Ahmedabad, Gujarat 382210, and we mobilize to any of India's 20+ states on short notice. For a complete overview of our diaphragm wall drilling methods and equipment, explore this page and see why metro authorities, developers, and EPC firms across India rely on Jalmala Boring Works for technically grounded diaphragm wall execution.